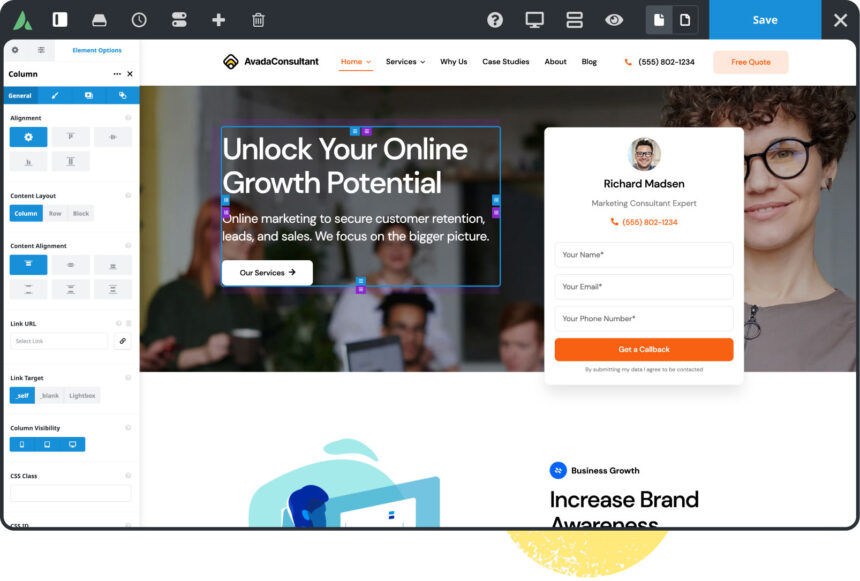
There are two methods for installing the Avada theme Website Builder. You can opt for the FTP installation method, which we will guide you through in this article, or you can choose the WordPress installation method. To get started with the installation, the first step is to download the required files from ThemeForest. For a detailed walkthrough of the installation process, please continue reading below. Additionally, for a visual overview, consider watching our instructional video.

Where To Download Avada Theme Files
Step 1 – Log in to your ThemeForest account navigate to your ‘Downloads’ tab and then locate your Avada purchase.
Step 2 – Click the ‘Download’ button and choose to either download the ‘Installable WordPress file only’, which is just the WordPress installable file or choose to download ‘All Files & Documentation’ which is the full Avada Website Builder package.
How to Install the Avada Theme
- Step 1 – Navigate to Appearance > Themes from the WordPress Dashboard.
- Step 2 – Click the ‘Add New’ button on top of the page, then the ‘Upload Theme’ button..
- Step 3 – To proceed with the installation, follow these steps:
- Click on the ‘Choose File‘ button to select the theme files you recently downloaded.
- If you downloaded the installable WordPress file, there’s no need to unzip the file. You can directly select it for installation.
- However, if you downloaded the Full Theme Package, you must unzip the master Avada.zip file. Inside this folder, you will find a secondary Avada.zip file. This is the file you should choose for installation.
- By following these steps, you’ll be able to select and install the Avada theme correctly based on the type of file you’ve downloaded.
- Step 4 – Once the file has uploaded, click the Activate link.
The Avada theme is a popular and versatile WordPress theme that can be used to create a wide range of websites, including blogs. Here’s a step-by-step guide on how to write a blog post using the Avada theme in WordPress:
- Advertisement -
- Login to Your WordPress Dashboard: Go to your WordPress website’s admin panel by entering your domain name followed by “/wp-admin” in your web browser. Log in using your username and password.
- Access the Blog Post Editor: Once logged in, go to the “Posts” section in the WordPress dashboard and click on “Add New.” This will take you to the blog post editor.
- Title and Content: In the editor, you can enter the title of your blog post in the provided field. Below the title, you can start writing your blog post content. You can use the Avada’s Fusion Builder, which is a visual page builder that comes with the Avada theme, to create your blog post content. You can add text, images, videos, and various other elements to your blog post using the Fusion Builder.
- Formatting Your Content: Use the formatting options available in the editor to style your text, add headings, lists, and more. Avada provides various styling options for text and images, which you can use to make your blog post visually appealing.
- Categories and Tags: On the right-hand side of the editor, you can assign categories and tags to your blog post. Categories help organize your blog posts, while tags provide additional information about the content.
- Featured Image: Below the content editor, you can set a featured image for your blog post. Click on the “Set featured image” link and upload or select an image from your media library. The featured image is typically displayed at the top of your blog post and as a thumbnail on archive pages.
- Save Draft or Publish: You can save your blog post as a draft to continue working on it later, or you can hit the “Publish” button to make it live on your website.
- SEO Optimization: Avada is compatible with popular SEO plugins like Yoast SEO or All in One SEO Pack. You can use these plugins to optimize your blog post for search engines by setting meta titles, descriptions, and other SEO parameters.
- Preview and Check: Before publishing your blog post, use the “Preview” button to see how it will look on your website. Check for any errors, formatting issues, or typos.
- Publish Your Blog Post: Once you are satisfied with your blog post, click the “Publish” button to make it visible to your website visitors.
- Sharing and Promotion: After publishing, you can promote your blog post on social media, in newsletters, and through other marketing channels to reach a wider audience.
Remember that the specific options and features available in the Avada theme may vary depending on the version of the theme you are using. Always refer to the theme documentation and any additional plugins you have installed for more detailed instructions on using Avada for your blog.
Like to follows us bejoo.in


